
Last updated November 14, 2026
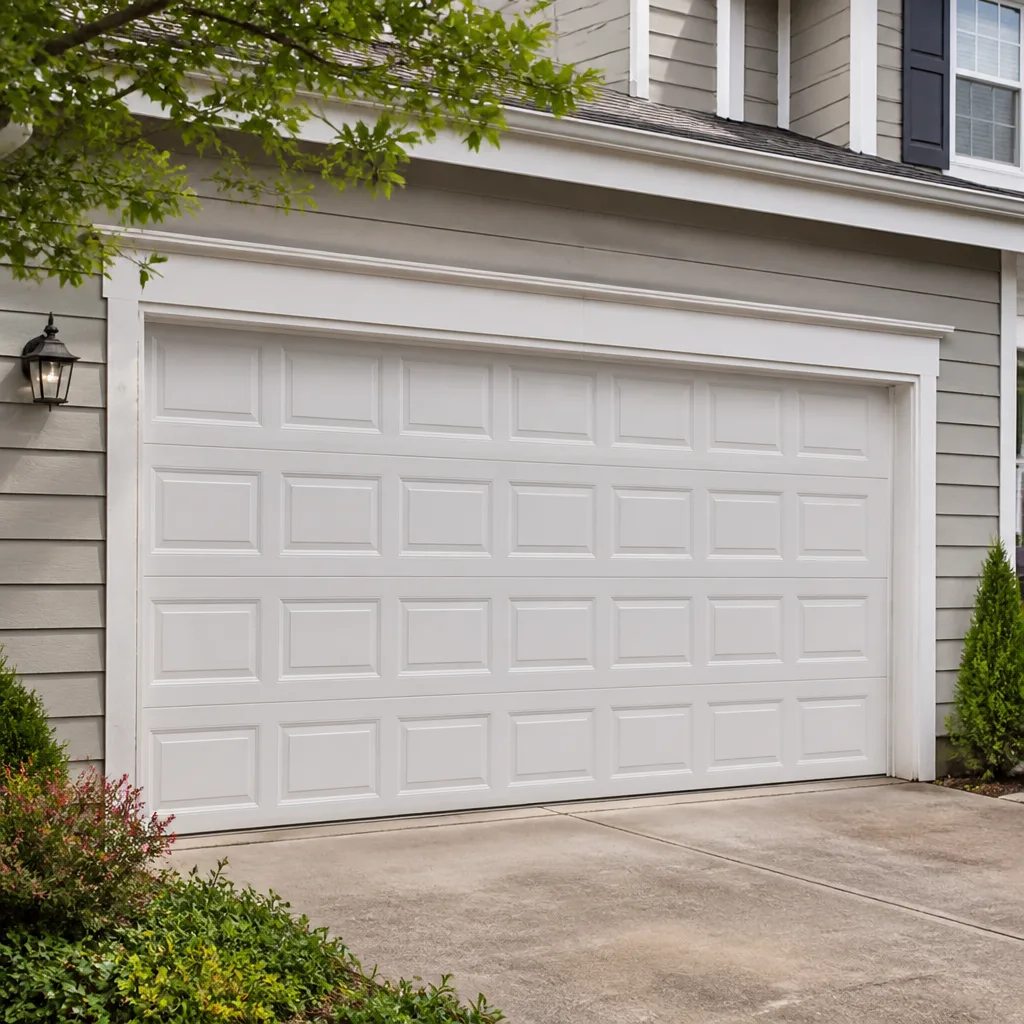 Raised-panel steel
 Carriage house
 Modern flush
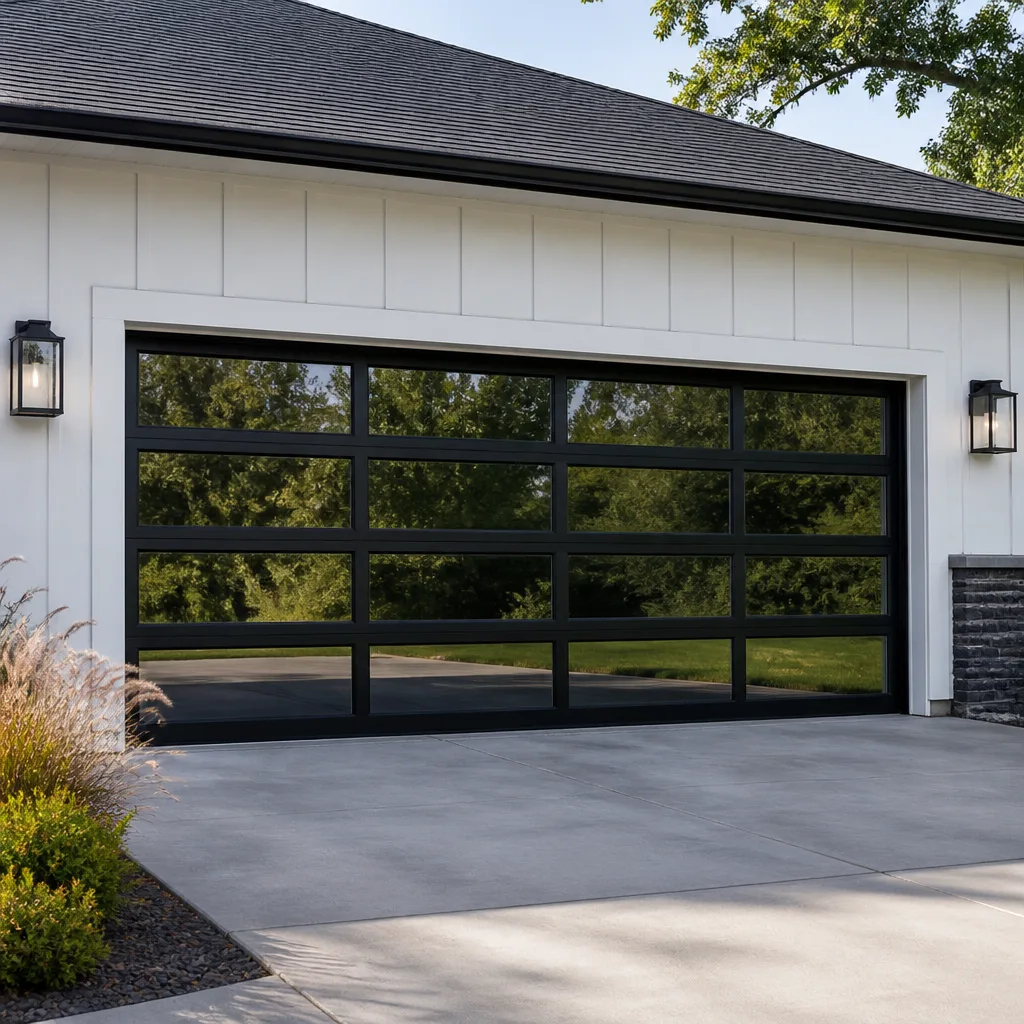 Full-view glass
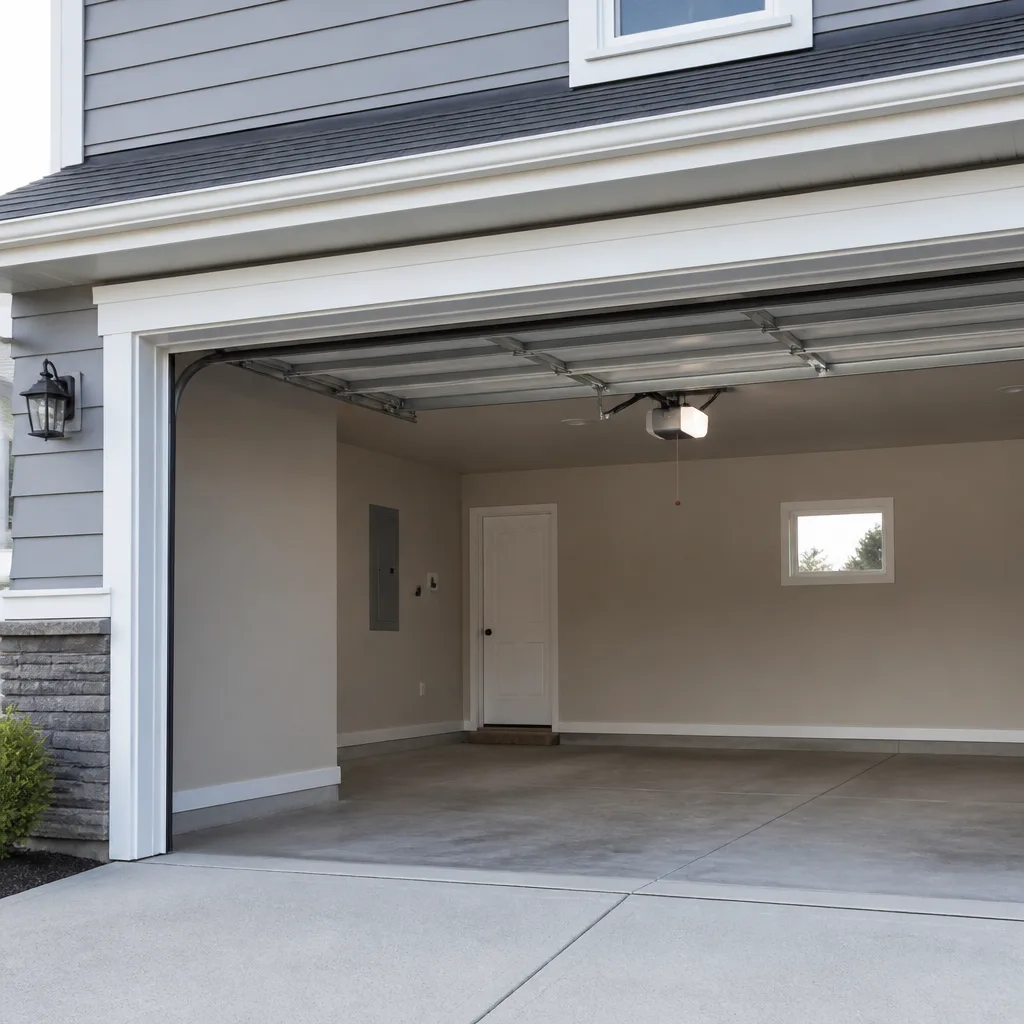 LiftMaster openers
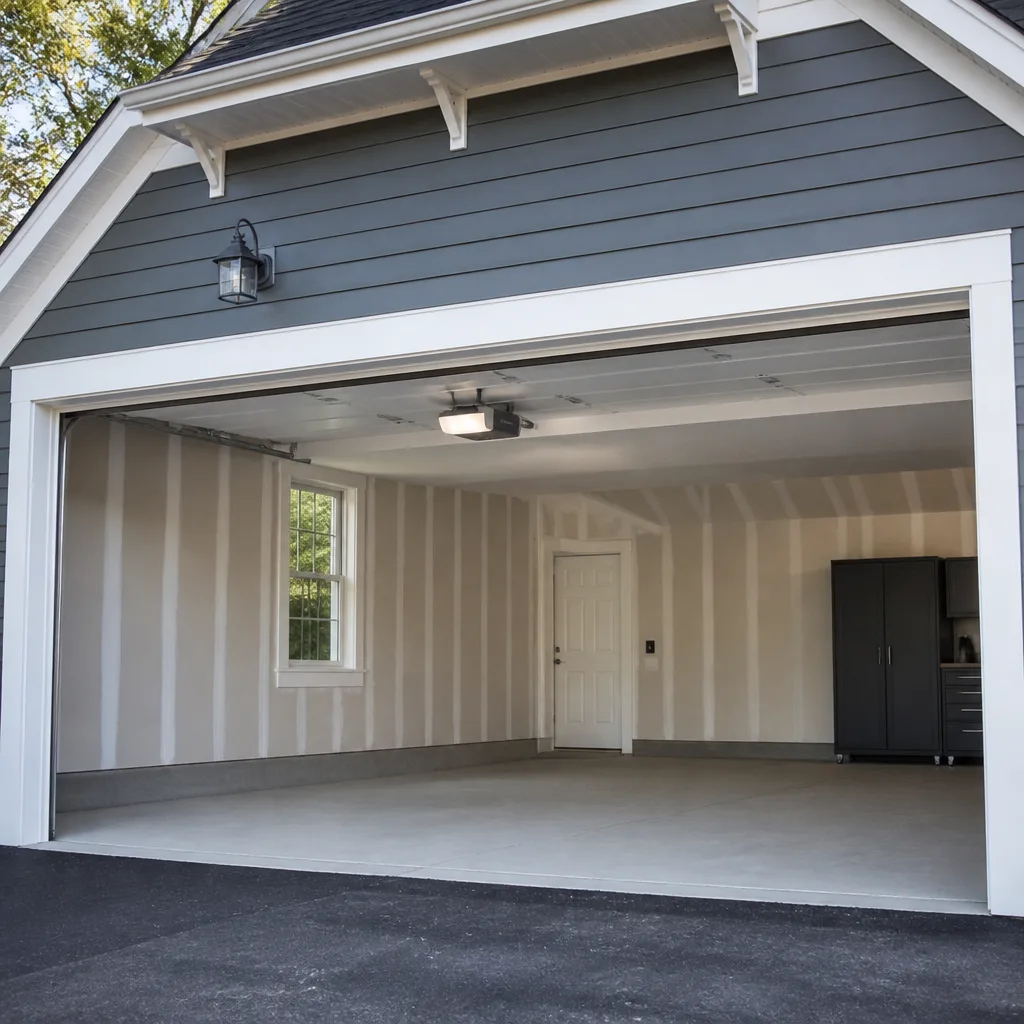 Chamberlain openers
Full 25-point door and opener safety check with every visit - springs, cables, rollers, tracks, and your LiftMaster or Chamberlain opener included
You get a price before we start. It does not change when the pro arrives.
Get your free estimateDIY vs Professional Garage Door: The Meridian Homeowner’s Decision Guide
A torsion spring under tension holds enough stored energy to throw a person across a garage if it lets go, and that isn’t a lawyer’s disclaimer – it’s simple physics. Yet plenty of Meridian homeowners who wouldn’t dream of touching a torsion spring think nothing of replacing a bottom seal, lubricating rollers, or reprogramming a keypad on a Sunday morning. Both instincts are correct. The DIY-versus-professional question for garage doors isn’t really about how handy you are. It’s about which specific tasks carry injury risk, warranty consequences, or code implications – and where that line falls. This guide draws that line precisely, task by task, instead of defaulting to “always call a pro.” You’ll leave knowing what you can safely handle in under an hour and what genuinely belongs in trained hands.
Quick Answer
Most garage door maintenance – lubricating hinges and rollers, replacing a bottom seal, testing the safety reverse, reprogramming a remote or keypad – is safe and sensible DIY work for a capable Meridian homeowner. Any job involving torsion springs, extension springs, cables, or the door’s structural balance is professional-only, because those components store dangerous energy and a mistake can cause serious injury. Opener replacement and new-door installation sit in the middle: some owners can handle a like-for-like opener swap, but warranty terms and calibration make professional installation the smarter long-term call.
Styles & brands we work with
- Raised-panel steel
- Carriage house
- Modern flush
- Full-view glass
- LiftMaster openers
- Chamberlain openers
Table of Contents
- The Three-Category Framework: Sorting Every Garage Door Task
- Category 1: Safe DIY Tasks You Can Do This Weekend
- Category 2: DIY With Caveats – The Gray Zone
- Category 3: Professional-Only Work and Why
- Why Spring Work Is in the Professional-Only Category
- How DIY Opener Installation Affects Your Warranty
- Idaho Permit and Disclosure Issues for Structural DIY
- The Real Math: DIY Savings vs. the Cost of Getting It Wrong
The Three-Category Framework: Sorting Every Garage Door Task
Every garage door job you’ll ever face falls into one of three buckets. We use this framework because “call a pro” and “do it yourself” are both lazy answers. A Meridian homeowner with a screwdriver and an hour to spare shouldn’t be talked into paying for work they can do safely. And a homeowner standing in front of a snapped torsion spring shouldn’t be encouraged to try. So instead of a blanket rule, here’s how the tasks actually sort out.
Category 1 – Safe DIY. Low-energy, low-height, no stored force, nothing that changes the door’s balance or calibration. Lubrication, cleaning, seal replacement, remote and keypad programming, visual inspections.
Category 2 – DIY with caveats. Tasks a mechanically confident homeowner can attempt but where a specific risk, warranty term, or calibration step changes the calculus. Opener replacement, roller swapping, and safety-reverse adjustment live here.
Category 3 – Professional-only. Anything with stored mechanical energy or structural consequence: torsion springs, extension springs, lift cables, drum and cable replacement, track realignment after impact, and any structural work on the header or framing above the door.
The reasoning behind each category matters more than the label. A task earns Category 3 status because of what it physically does, not because a manufacturer wants to sell service. garage door repair on the components in that third bucket is a job for trained hands, full stop.
What surprises most homeowners is how much of their door lives in Category 1. If you’ve been paying a technician to spray lubricant on your hinges once a year, you can reclaim that task today. If you’ve been thinking about adjusting your own torsion spring because a video made it look simple, please read the mechanics section below before you pick up a winding bar.
Category 1: Safe DIY Tasks You Can Do This Weekend
These are the jobs where DIY genuinely makes sense – no stored spring energy, no calibration risk, no warranty exposure if you follow basic instructions. A capable homeowner can do every one of these in under an hour, and none of them requires a specialty tool beyond a wrench, a screwdriver, and a grease gun.
- Lubricating hinges, rollers, and the torsion shaft. A few drops of a proper garage door lubricant (not WD-40) on each hinge point, roller stem, and bearing plate cuts noise and extends hardware life. Once or twice a year is plenty in Meridian’s dry climate.
- Replacing the bottom seal. A cracked or hardened weather seal lets in dust, drafts, and pests. Slide the old one out of its track, slide a new one in. Twenty minutes with a pair of pliers.
- Testing the safety reverse. Place a two-by-four flat on the floor in the door’s path, close the door, and confirm it reverses on contact. If it doesn’t, that’s a calibration issue – see Category 2.
- Reprogramming remotes and keypads. Any LiftMaster, Chamberlain, or Genie remote or wireless keypad can be reprogrammed in a few minutes with the manual and the learn button on the opener motor head.
- Replacing opener batteries and light bulbs. Trivial, but worth mentioning because a dead remote battery is one of the most common phantom “my opener is broken” calls we get.
- Cleaning the photo-eye lenses. Wipe the two small lenses at the bottom of the door tracks with a damp cloth. A cobweb is enough to make a door refuse to close.
- Visual inspection. Run your hand along the door panel, look for fraying at the cables near the drums, and listen for new noises. A five-minute inspection catches problems before they become Category 3 repairs.
None of these tasks requires you to touch a spring, a cable, or the door’s balance. That’s the whole point of the category – the ceiling is set below the danger line, not above it.
Category 2: DIY With Caveats – The Gray Zone
The middle category is where confident homeowners sometimes win and sometimes create a bigger problem than they started with. These tasks don’t carry the spring danger of Category 3, but each one has a specific reason to think twice before starting.
Opening the door to door-to-door opener replacement
Yes, you can physically remove a LiftMaster opener and bolt up a new one of the same type. The question is whether you should. Modern openers require precise travel-limit calibration, force-sensitivity adjustment, and safety-reverse programming – three settings that interact with each other. Get them wrong, and the door either won’t close fully or won’t reverse when it should. Neither outcome is acceptable on a door a child might walk under.
Roller replacement
Rollers come out with a pair of pliers and a screwdriver, and a homeowner can absolutely swap them. The caveat is that the door needs to be in the fully raised position with the tension relaxed – and on many door designs, relaxing tension means the door has to be secured first. If you’re not sure how to safely secure a door in the open position, this one belongs in Category 3.
Safety-reverse adjustment
This is a screw adjustment on the opener motor head, so mechanically it’s easy. The caveat is that a miscalibrated safety reverse is invisible until the moment it matters. Test it thoroughly with the two-by-four method after any adjustment, and if the door still won’t reverse reliably, the problem may be bigger than the potentiometer – in which case garage door opener repair is the right next step.
Track adjustment for minor misalignment
Light track nudging after the door has been bumped is a gray-zone task. But if a track is bent more than a small amount, or if the door has jumped the track entirely, the correct repair usually involves retensioning or replacing cable and spring assemblies. That’s Category 3 work dressed up as a track fix.
Category 3: Professional-Only Work and Why
Here’s the definitive list, and each entry has a mechanical reason, not just a suggestion.
- Torsion spring replacement or adjustment. The spring is wound to store the energy that counterbalances a 150-300 pound door. It is under continuous tension whether the door is open or closed. A single wrong turn of a winding bar can release that energy suddenly. No homeowner tool or trick makes this safe.
- Extension spring replacement or adjustment. Same reasoning, different geometry. Extension springs along the horizontal tracks are under load and can fail violently.
- Lift cable replacement. The cables are the safety-critical link between the spring system and the door. A cable that slips during repair can allow the door to fall.
- Drum and cable assembly work. Same as above – any work on the cable winding system is inherently dangerous.
- Track replacement or major realignment after impact. Once a door has been struck hard enough to displace a track, the door’s squareness and spring balance have almost certainly been affected. The repair is bigger than the visible damage.
- Structural work on the header or framing. This is where Idaho permits and disclosure come in – see the section below.
We work on Raynor, Chamberlain, and LiftMaster systems regularly and know where each design is most prone to failure. That familiarity is exactly what makes spring work routine for a trained technician and unreasonable for a homeowner. If you take one line away from this guide, make it this one: the three-category rule is not about competence. It’s about physics.
Why Spring Work Is in the Professional-Only Category
The reason spring work sits in the third category isn’t that springs are complicated to understand. It’s that they’re complicated to touch safely, and the failure mode is violent. A torsion spring on a typical residential door holds enough energy to launch a winding bar through drywall. That energy exists whether the door is open or closed, day or night, and it doesn’t care how carefully you’re handling it.
Here’s how the system actually works. Open any residential garage door, and you’ll see either a torsion assembly (a horizontal shaft above the door with springs wound around it) or an extension assembly (springs running parallel to the horizontal tracks). Both systems are doing one job: storing the energy required to lift the door’s weight. Without them, the opener would have to pull hundreds of pounds, which is why a broken spring makes a door feel like a car with no power steering.
When a torsion spring is replaced, the technician uses two steel winding bars to transfer that stored energy from the old spring to the new one – step by step, with full control, at a known tension. If a bar slips during winding, the spring unwinds instantly. There is no way to reverse the decision. There is no way to catch it. This is why we don’t give step-by-step winding instructions, even in an article that otherwise tells you what you can safely do yourself: the risk isn’t in the theory, it’s in the moment of handling.
Extension springs have a second failure mode. A broken extension spring can whip back along its track. This is why many modern installations include a containment cable through the center of each extension spring – if the spring breaks, the cable catches the halves. Older installations don’t always have them. If you’re not sure whether yours do, one glance at the springs while the door is fully closed will tell you.
Meridian’s dry, hot summers and cold winters work springs harder than a coastal climate would. Springs cycle hundreds of times per year in a typical household, and each cycle is a small amount of metal fatigue. A spring that’s been in service for a long time is a spring closer to failure – another reason to treat any spring repair as Category 3 without exception.
How DIY Opener Installation Affects Your Warranty
Opener manufacturers take a position on installer certification, and it matters for the device’s lifespan. A typical residential opener is expected to last around ten years under normal use. When that device isn’t installed to the manufacturer’s instructions, the warranty term can be shortened or voided – and the specific reason is worth understanding, because it’s not just a legal technicality.
Here’s what a manufacturer looks for when a warranty claim comes in:
- Was the opener mounted with correct hardware? An opener bolted up with the wrong brackets or into framing that isn’t structurally rated can fail in a way that traces back to installation.
- Were the travel limits set correctly? Over-travel can burn out internal gears. Under-travel can strain the door. Either way, the damage reads on the warranty claim.
- Was the force-sensitivity set to match the door’s actual weight? Miscalibration puts constant strain on the opener motor and shortens its life. Manufacturers know this and know how to spot it.
- Was the safety reverse properly tested and documented? Some warranties require confirmation that the safety reverse functions correctly. If it doesn’t work, a claim on an unrelated failure can still be denied on the grounds that the safety system was never set up.
None of this means a mechanically confident homeowner can never replace an opener themselves. Plenty of people do, and plenty of those installations work fine. The point is that on a device designed to last ten years, you’re deciding whether to stake the warranty term on a first-time installation. Most of the time, the savings don’t justify that trade. Whichever path you take, we’re happy to walk a Meridian homeowner through the calibration checks on a LiftMaster or Genie unit – because a correctly programmed opener is safer for everyone.
Idaho Permit and Disclosure Issues for Structural DIY
This is the category where DIY mistakes compound not over months, but over years – hiding in plain sight until you try to sell the house. Garage door repairs on the moving parts almost never touch the permit process. But the moment a repair creeps into the framing above the door – a header, a trimmer, or the wall the track mounts to – you’re working on structure, and structure is regulated.
Ada County and the City of Meridian set the permit rules for structural work, and the rules vary by scope. Most cities require a permit when framing is modified, replaced, or reinforced, so ask the City of Meridian Building Department directly before you touch anything that isn’t the door hardware itself. A phone call takes five minutes; a permit problem at resale can cost far more than that.
The resale side is where homeowners get genuinely caught. When you sell a home in Idaho, you complete a seller’s property disclosure form. Structural work that was performed without a permit, or performed in a way that doesn’t match code, has to be disclosed if you know about it – and a buyer’s inspector, engineer, or appraiser will find it during the inspection. The standard remedy is a retroactive permit and correction, which almost always costs more than doing it right the first time.
Here’s the practical line for a Meridian homeowner. If your garage door repair involves only the door, the tracks, the springs, the cables, and the opener, no permit is involved and the work is a straightforward repair. If your repair requires changing the opening’s framing, replacing the header, or reinforcing the wall the track mounts to, treat that as a structural project: talk to the city first, and hire a licensed contractor for the structural portion. A garage door technician who does not perform framing work will tell you when the scope has moved into that territory, and a reputable one will not pretend the door repair alone solves the problem.
The Real Math: DIY Savings vs. the Cost of Getting It Wrong
Let’s be honest about where the savings actually live. On Category 1 tasks, DIY saves you real money and carries no real risk. On Category 3 tasks, “savings” is mostly an illusion because the downside is unbounded. Here’s the comparison most articles skip.
Where DIY genuinely saves
- Bottom seal replacement. A new seal is inexpensive at any hardware store. The task is twenty minutes. There’s no downside.
- Lubrication. A grease gun and a bottle of proper garage door lubricant cost less than one service call and cover years of routine maintenance.
- Remote and keypad programming. Free if you have the manual. Ten minutes of your time.
- Battery replacement. Trivial.
- Photo-eye cleaning. Zero cost, five minutes, fixes a surprisingly common “door won’t close” complaint.
Where DIY “savings” evaporate
On any Category 3 task, the DIY math looks different because the downside isn’t a do-over. A mis-wound torsion spring can cause serious injury. A cable that slips during a DIY lift cable replacement can bring a door down. And the parts themselves don’t come cheap if you have to buy them twice.
Here’s the honest framing on cost: a professional repair on a Category 3 job is priced per job by a written estimate, and that estimate is agreed before any work starts. There is no surprise invoice. When you compare that against the true cost of a DIY mistake – a re-repair, a replacement door section, or a medical bill – the comparison isn’t close. Repair-first pricing with a written estimate in hand is not just the safe path; it’s the economically rational path once you account for the downside risk.
What we won’t do is quote you a number before we’ve looked at the door. Cost varies by spring type, door weight, opener age, and whether the door’s balance has been affected. That’s why the estimate is free and the price is set by the written estimate. If you call for a quote on a spring or cable, expect to describe the door’s symptoms, and expect us to be specific about what the repair will cover.
Common Mistakes to Avoid
- Trying to adjust a torsion spring yourself. The spring looks approachable until you understand how much energy is stored. Two winding bars and a controlled sequence are the only safe tools for this job.
- Assuming a “my door won’t close” symptom means the opener is bad. In Meridian’s dusty summer conditions, a dirty photo-eye is the more common cause. Check the eyes first before replacing a working opener.
- Installing a new opener without re-doing travel limits. A factory-reset opener will over-drive or under-drive until it’s calibrated against the actual door. Skip the calibration and you’ll be back in a month.
- Replacing an old spring with one that doesn’t match the door’s weight rating. A mismatched spring makes the door hard to lift by hand, which forces the opener to work harder and shortens its life.
- Doing structural framing work without a permit. Even a well-executed header repair becomes a resale problem if it isn’t permitted. Ask the city first.
- Ignoring a bent track after a bump. A small misalignment produces steady wear on the rollers. Left alone, the wear compounds and eventually takes out the whole track assembly.
- Using WD-40 as a garage door lubricant. WD-40 displaces moisture but doesn’t stay in place long enough to lubricate a hinge point. Use a proper garage door lubricant.
See the difference
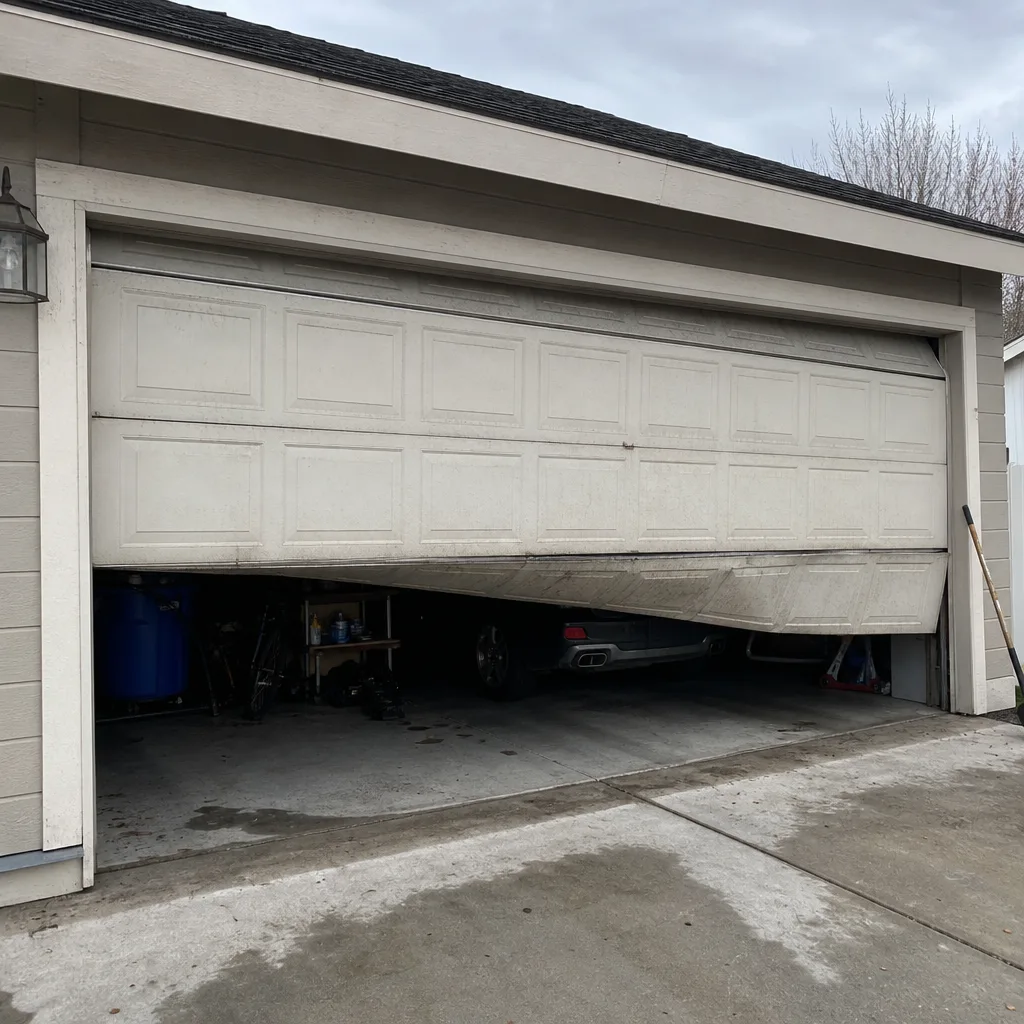 Before
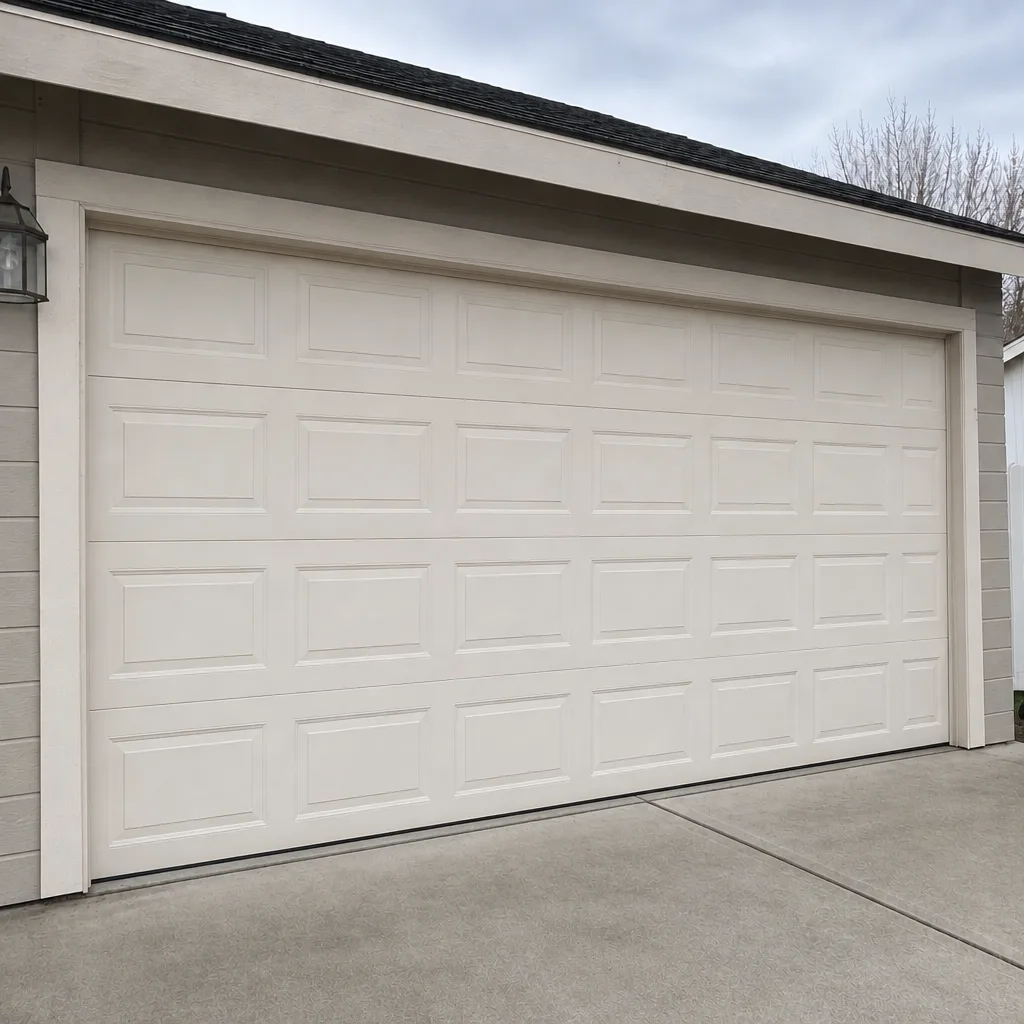 After
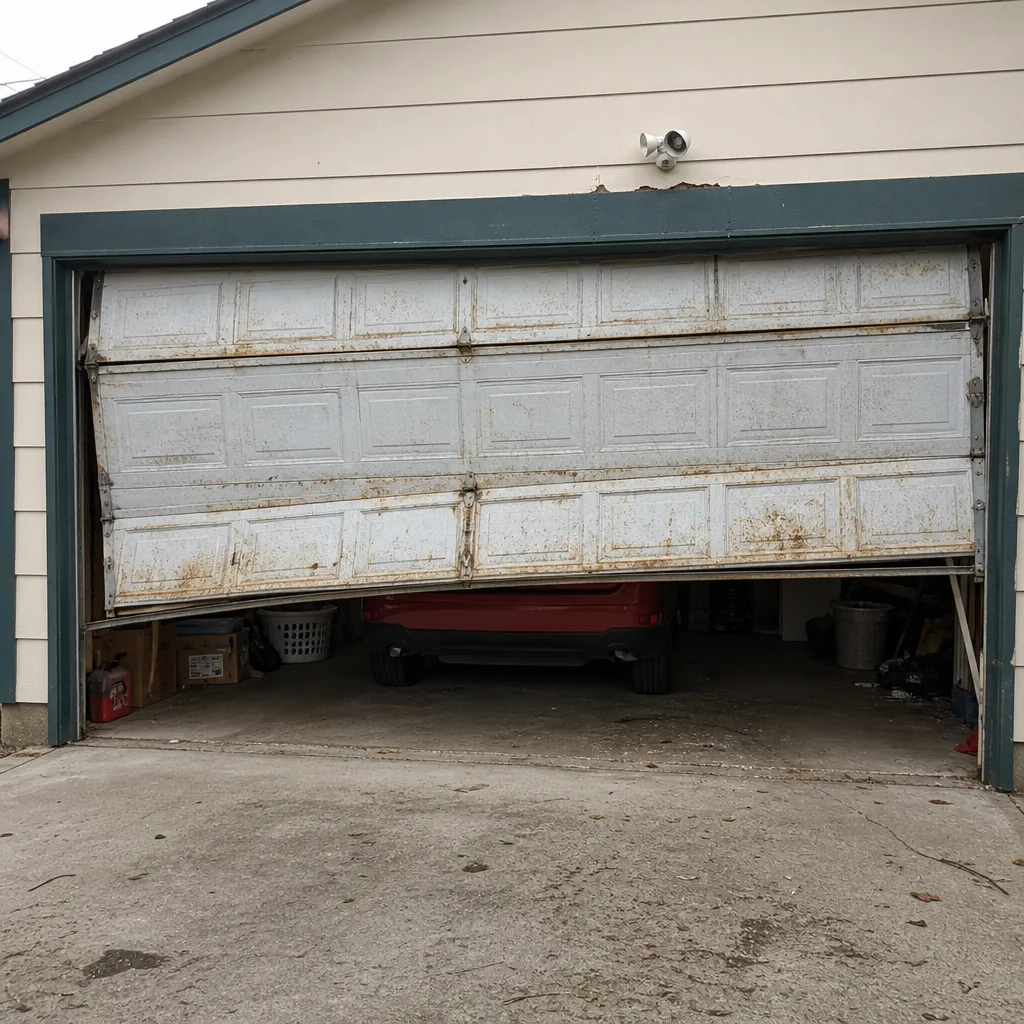 Before
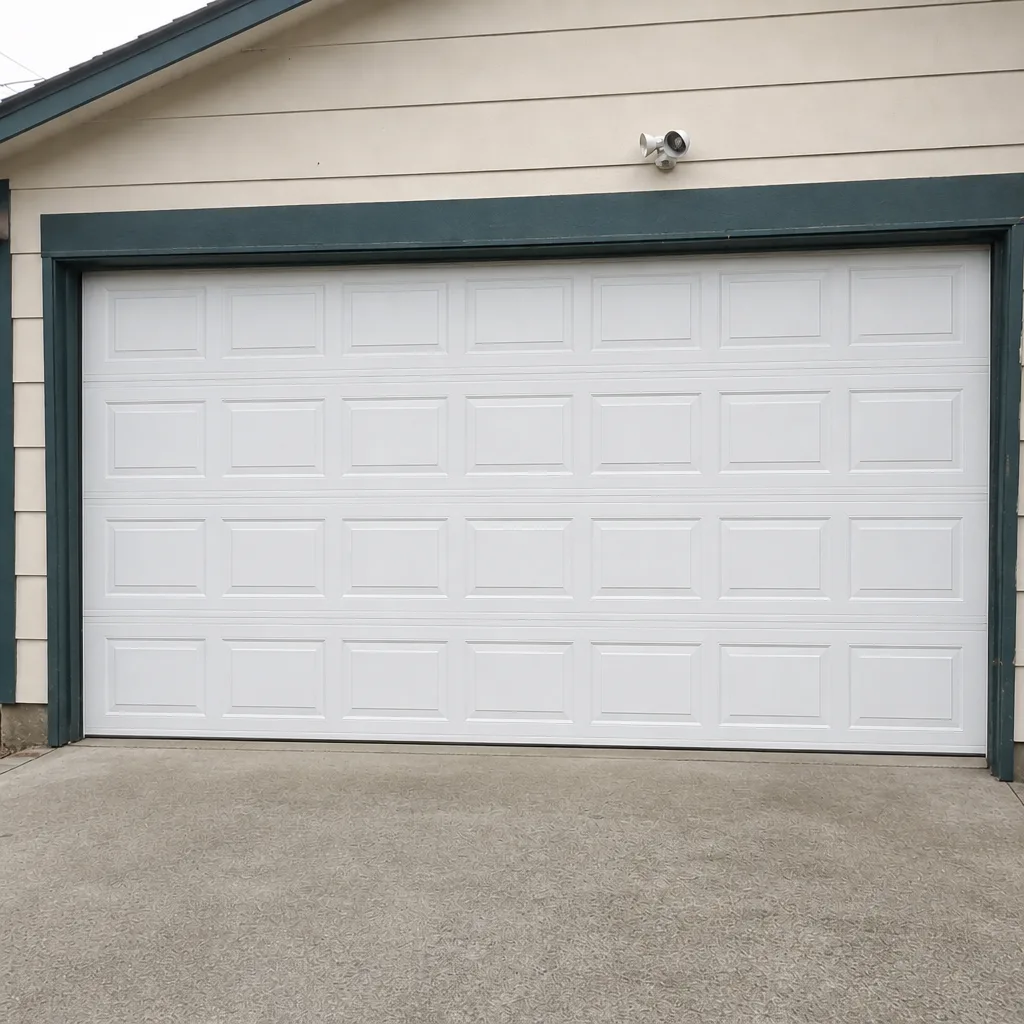 After
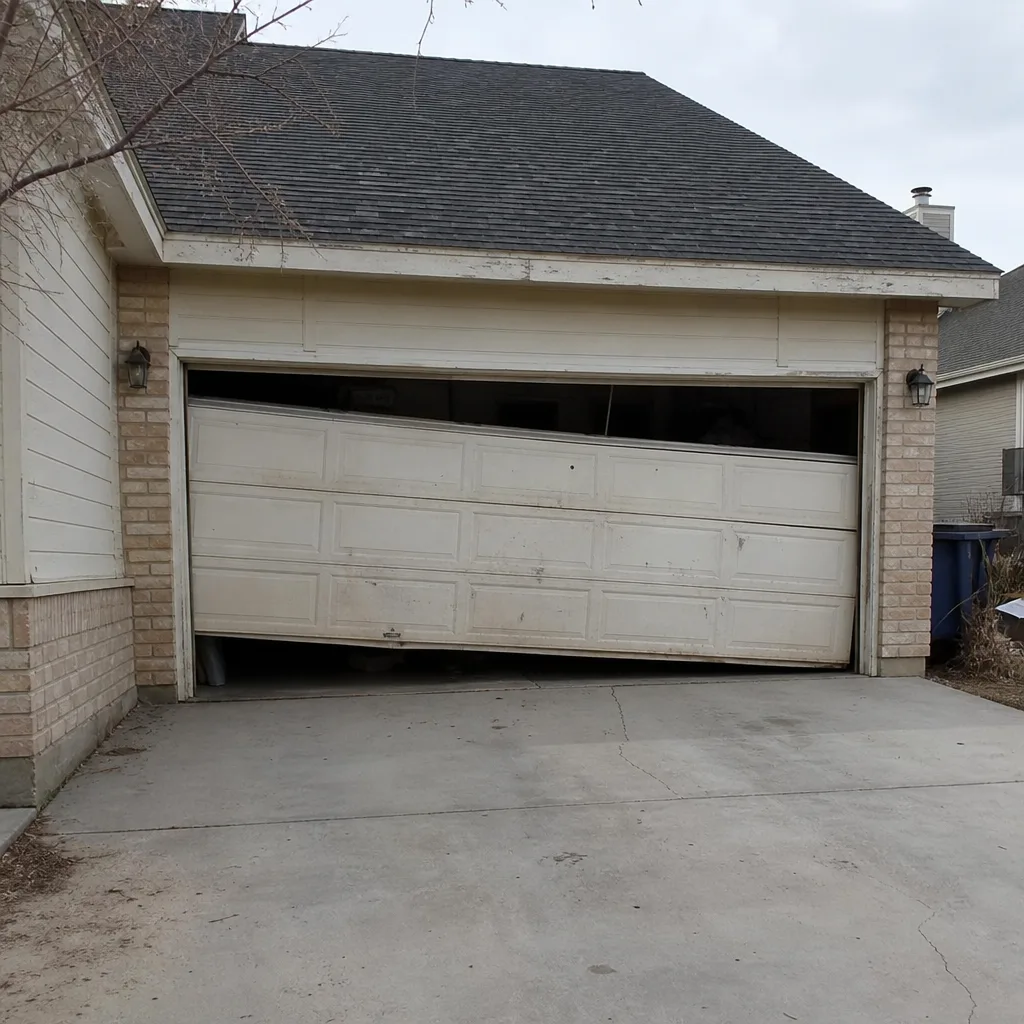 Before
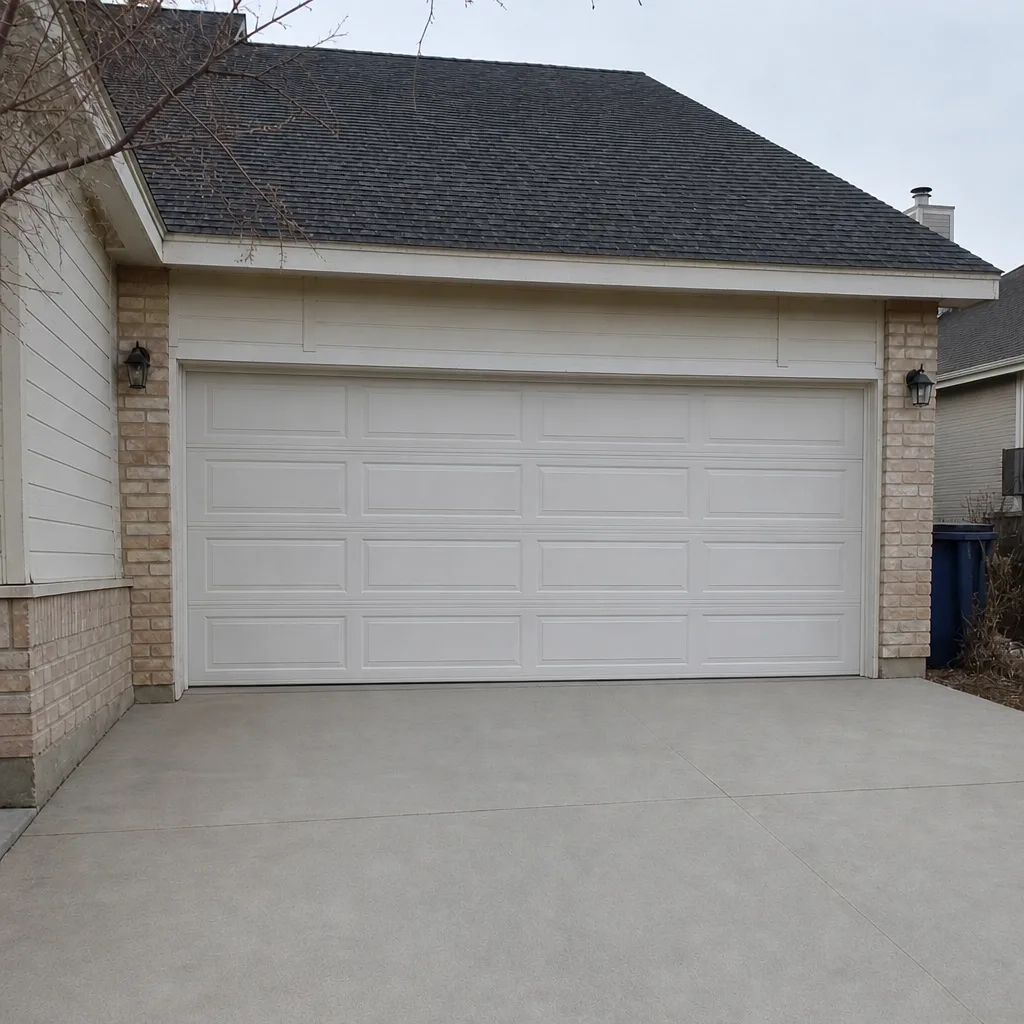 After
When to Call a Professional
Call a professional the moment your repair involves a torsion spring, extension spring, lift cable, drum assembly, or a door that has jumped the track. Call for any opener that has stopped responding after programming and photo-eye checks, and call for any structural work on the framing above the door. If your door has been struck by a vehicle or a heavy impact, that’s a professional assessment no matter how minor the damage looks. If the door feels dramatically heavier than it used to, the spring system is telling you something is wrong. In all of those cases, Highland Garage Door Repair offers free estimates in Meridian – call (833) 361-4641. We answer 24/7, and fast dispatch runs 7am to 7pm, Sunday through Friday. A written estimate is agreed before any work starts, so you know the price before a tool is picked up.
For Category 1 tasks? Do them yourself with our blessing. A homeowner who knows how to lubricate their own rollers is a homeowner who catches spring wear earlier – which is better for everyone.
Frequently Asked Questions
No – we don’t recommend it under any circumstances. A torsion spring stores enough energy to cause serious injury if it releases during handling, and there is no safe way to wind or unwind one without the proper tools and training. Call a professional; the price is set by a free written estimate and you don’t have to worry about the spring’s stored energy. Call (833) 361-4641 to schedule an estimate.
Physically, yes, for a mechanically confident homeowner – the danger isn’t in the mounting. The bigger issue is warranty and calibration: opening limits and force sensitivity have to be set against the door’s actual weight, and a miscalibrated opener can shorten the device’s expected ten-year lifespan. A professional installation keeps the warranty intact and the door calibrated correctly. Call (833) 361-4641 for a free estimate on opener replacement.
Lubricating hinges and rollers, replacing your bottom seal, cleaning the photo-eye lenses, reprogramming remotes and keypads, replacing batteries, and testing the safety reverse are all safe DIY tasks. These are the jobs where DIY genuinely saves you money and carries no real risk. Anything touching springs, cables, or the door’s balance belongs to a professional. Call (833) 361-4641 if you’d like help telling which bucket your job falls into.
Most garage door repairs – springs, cables, tracks, openers – do not require a permit. Structural work on the header or framing above the door typically does, and the specific scope determines whether a permit is required. Ask the City of Meridian Building Department before any framing work. Call (833) 361-4641 if you want a professional assessment of whether your repair is purely door hardware or has moved into framing territory.
It can shorten or void the manufacturer’s warranty on the opener, particularly if travel limits, force sensitivity, or safety reverse weren’t set up correctly. Manufacturers can spot the signs of a miscalibrated installation when a claim comes in. A professional installation protects the warranty term on a device expected to last around ten years. Call (833) 361-4641 for a free estimate.
On Category 1 tasks, DIY saves you the full cost, and nothing about those jobs makes a professional visit worthwhile. On Category 3 tasks, the professional cost is a written estimate agreed before work begins – and the honest comparison isn’t the labor line, it’s the true cost of a DIY mistake on a spring or cable. Call (833) 361-4641 for a free estimate; the price is set per job by the written quote.
The Bottom Line
The DIY-versus-professional question for garage doors has a real answer, and it isn’t “leave it all to the pros” or “you can do this yourself.” Lubricating rollers, replacing a bottom seal, programming a keypad, and cleaning the photo-eyes are jobs any capable Meridian homeowner can safely do in under an hour. Torsion springs, extension springs, lift cables, drum assemblies, and structural framing are professional-only because of stored energy and permit implications. Opener replacement and safety-reverse calibration sit in the middle, where the savings are real but the warranty and calibration stakes tip the math toward professional work. If you’re in Meridian and want a second opinion on which category your repair falls into, we’re glad to look. For anything in Meridian, Highland Garage Door Repair handles both the door hardware and the opener electronics – one call covers the whole system.
Call (833) 361-4641 for a free estimate. We answer 24/7. Fast dispatch from 7am to 7pm, Sunday through Friday. The written estimate is agreed before any work starts, so you’ll know exactly what the repair involves and what it costs before anyone picks up a wrench.
Written by the team at Highland Garage Door Repair.